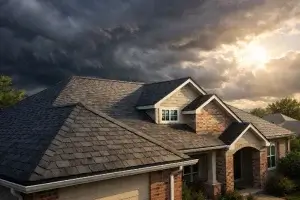
As pros in the roofing industry, we know what really goes into a well-built roof and what can go wrong when corners are cut. A proper roof replacement process involves detailed planning, understanding materials, following code, and using the right methods, especially for complex roofs. In this new roof installation guide, the Maupin Roofing team walks you through what to expect from a professional roofing company.
We’ll cover everything from where the application of shingles starts to the cleanup and final inspection, with tips on timing, costs, and important safety precautions.
How Do You Know When to Replace Your Old Roof?
Most roofs fail due to a combination of age, weather, and wear that adds up over time. So, at what point do repairs stop making sense, and when should you start planning for a complete roof replacement instead? Here are the signs we look for as professional roofers:
Shingles are looking rough: If you see curling edges, cracks, loose shingles, or bald spots where granules have worn off, your old shingles aren’t doing their job anymore. You might also see exposed nails or protruding nails.
Leaks that keep coming back: If you’ve already patched a few spots but water is still finding its way in, your roofing project might need more than just a quick fix.
Decking feels soft or saggy: If the surface under your shingles feels soft when walked on or shows dips, your roof decking may be compromised by moisture or rot.
Interior signs of trouble: Wet insulation, mold in the attic, or water stains on your ceiling can be early signs of water infiltration.
The roof is 20+ years old: Most asphalt shingles last around 20 years, especially in severe climate areas like Oklahoma, where high winds, hail, and heat take a toll.
If you notice several of these issues, it may be time for a roofing contractor to take a closer look and walk you through options for a new roof.
The Anatomy of a Roof
Before work begins, it helps to understand what a roof is made of. A complete roof system includes layers that all work together to prevent leaks and increase your home’s curb appeal.
1. Roof Decking
This is the wooden base beneath your shingles, usually made from plywood or OSB. If it’s damaged, we’ll replace the affected sections before anything else. Cutting out damaged pieces often involves using a circular saw and checking for soft spots or decay.
2. Ice and Water Shield
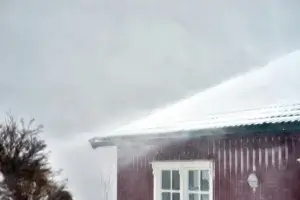
We install ice and water shield in vulnerable spots like valleys, eaves, and areas around chimneys. This water shield is a self-adhering membrane that protects your home from ice dams and rain pushed in by wind. It adds extra protection and is especially helpful in Oklahoma’s unpredictable weather.
3. Underlayment
Over the roof decking, we apply underlayment—either traditional felt paper or synthetic material. This second layer sits on top of the decking and beneath the shingles, acting as a moisture barrier that helps protect the structure underneath. While some older roofs may have had only a single layer of protection, modern roofing standards call forvf456 this added defense. Properly installing underlayment means overlapping rows, securing it during the staples step, and avoiding wrinkles that could trap moisture.
4. Drip Edge
Drip edge flashing is installed along the bottom edge of your roof and along rakes, directing water into gutters and keeping it away from the decking. We cut it to fit using tin snips, and it plays a key role in keeping your edges from rotting.
5. Ridge Vent and Roof Ventilation
Ventilation helps regulate attic temperature and moisture. We install a ridge vent at the peak of the roof, which works with roof vents and soffit vents to move air through the attic space. This prevents condensation buildup and helps your roofing materials last longer.
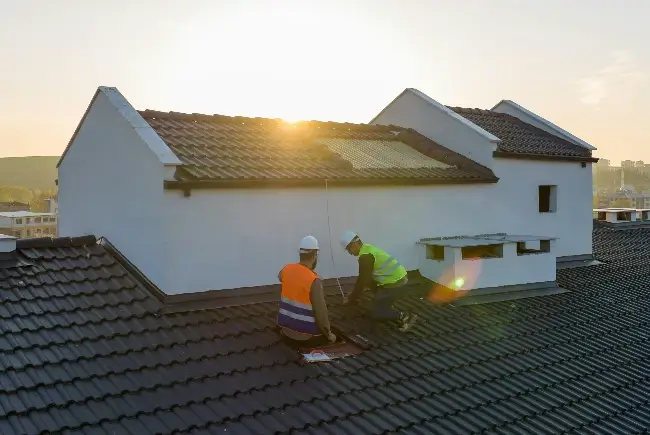
Step-by-Step Process of Installing a New Roof
Here’s the general process we follow for a full new roof installation:
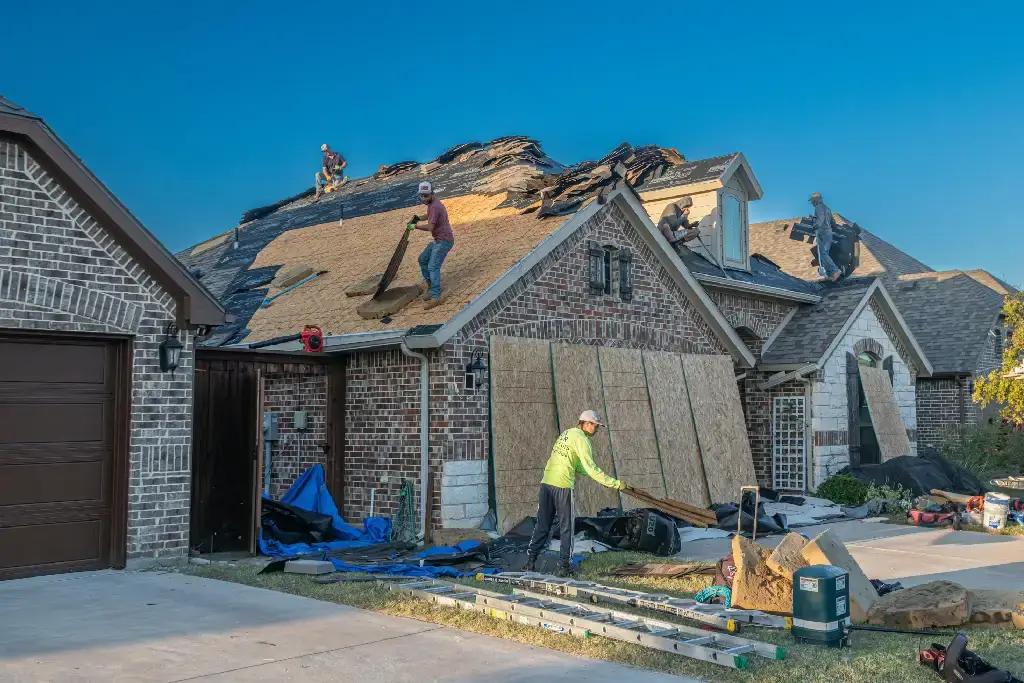
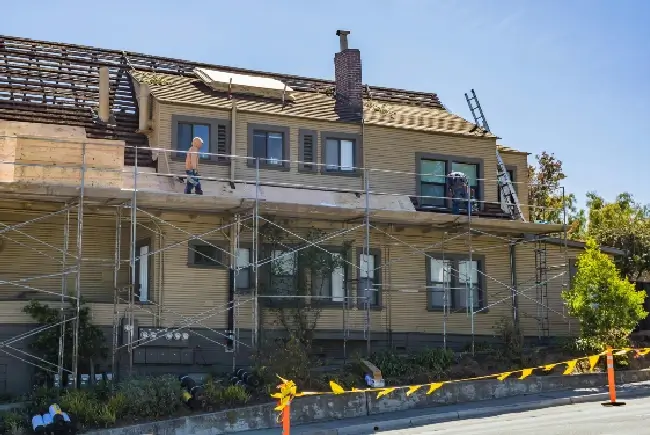
Step 1: Tearing Off the Old Shingles or Tiles
We use a roofing shovel or pry bar to remove the old shingles, underlayment, nails, and flashing. This helps us inspect the structure underneath. We lay down tarps to protect your landscaping and keep the surrounding area clean.
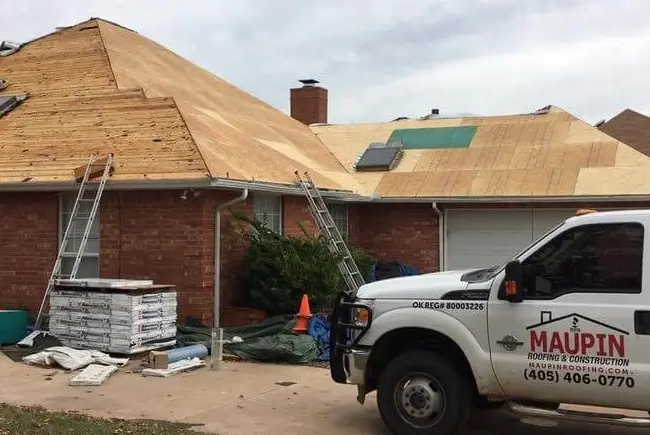
Step 2: Inspecting and Replacing Roof Decking
After the tear-off, we check the roof decking for damage. If we find soft areas or mold, we replace the damaged sheets with new ones of the same size. We trim them as needed using a circular saw and secure them properly to create a solid foundation.
Step 3: Installing Ice and Water Shield in Vulnerable Areas
We install ice and water shield along valleys, eaves, and around chimneys. This helps prevent leaks from ice dams or wind-driven rain. We smooth out the membrane and overlap seams for a watertight seal.
Step 4: Laying Down the Felt Paper or Synthetic Underlayment
Next, we begin installing underlayment. For most homes, we use synthetic underlayment, but some projects may still use felt paper. We overlap rows, secure them with roofing nails or staples, and make sure everything lies flat.
Step 5: Adding the Drip Edge Along Eaves and Rakes
We install the drip edge flashing along the lower edge of the roof and up the sides. It’s fastened over the underlayment on rakes and under it on eaves, depending on local codes. This directs water safely into the gutters.
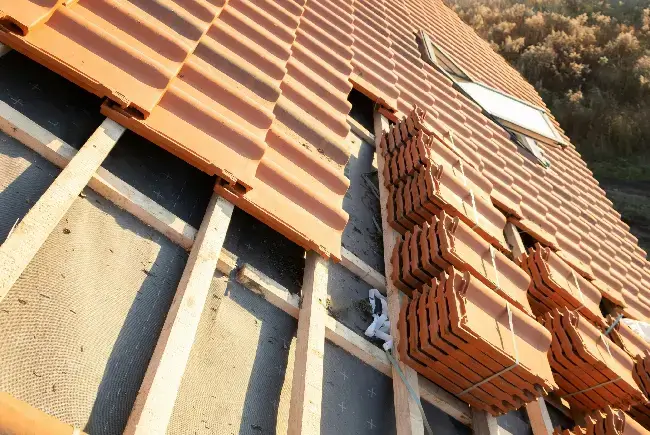
Step 6: Installing Asphalt Shingles or Other Materials
Now it’s time for the new shingles. We start with a starter strip or starter shingles at the bottom edge. The first course goes over that, then we continue subsequent rows using a chalk line for straight alignment. We secure each shingle with roofing nails and/or adhesive strips and follow manufacturer guidelines. We also install step flashing, valley flashing, and seal areas using roofing cement and roofing sealant.
Step 7: Placing the Ridge Vent and Other Roof Vents
We cut an opening along the ridge and install the ridge vent, then cover it with ridge cap shingles to match the look of your roof. We also check and adjust roof vents to make sure your attic stays dry and properly ventilated.
Step 8: Clean-Up and Final Inspection
Once everything is in place, we clean up all debris using magnets to pick up nails around your home. We finish up with a thorough final inspection, checking for exposed nails, loose edges, and flashing details. We’ll also provide you with warranty information and tips on maintaining your roof.
Maintenance Tips After Your New Roof Installation
Even the best roof needs regular care. We’ve put together some helpful tips on how to keep your roof in good shape long after your roof installation is complete:
Inspect after storms: Look for loose shingles, bent flashing, or missing roofing nails.
Check your attic: Watch for moisture or water spots that could signal hidden leaks.
Keep trees trimmed: Overhanging branches can wear down shingles or clog gutters.
Clear your gutters: Water needs to flow freely off your roof to avoid backing up under the shingles.
Schedule regular inspections: Have your roofing contractor look things over every couple of years. They can spot small issues before they become major repairs.
Special Considerations for OKC Climate & Codes
In Oklahoma City, our weather is tough on roofs. These are some of the ways we adapt:
We use roofing materials rated for wind and hail. Most of our jobs use asphalt shingles designed to withstand high winds and flying debris.
We build to local regulations. Everything we install meets or exceeds local regulations and manufacturer specs.
We use extra sealing in critical areas. This includes adhesive at shingle edges, roofing cement at flashing, and plenty of roofing sealant around vents.
We plan for future home improvements. So if you’re thinking of adding solar panels, skylights, or ventilation later on, we can plan accordingly.
Let Maupin Roofing Be Your Partner in New Roof Installation
At Maupin Roofing, we’ve been helping Oklahoma homeowners for nearly 40 years with professional roof replacement and new roof installation. Whether you’re dealing with an old roof that’s past its prime or you’re planning ahead for a long-term investment, we understand how important this decision is. We know this is one of the biggest home improvements you’ll ever make, and we treat it with the care it deserves.
Our team of experienced residential roofing contractors uses only high-quality roofing materials, follows best practices, and makes sure your home is protected from the moment work begins, including everything from the first row of shingles to the final inspection. We’ll walk you through your options, go over labor costs, materials, and answer any questions you have.
Ready to get started? Contact us today!

Roof Insurance Claims Guide for Norman Property Owners
Dealing with a damaged roof can feel overwhelming, especially when you’re facing a long insurance claim process while rain is still leaking through your ceiling.

New Roof Financing in Yukon: Affordable Plans Explained
For many homeowners in Yukon, Oklahoma, getting a new roof is one of the most important investments they will ever make in their home. Whether
Asphalt Shingle Replacement in Oklahoma City Suburbs
If you live in the Oklahoma City suburbs, you already know your roof does not get a break. Between sudden storms, heavy hail, and long

Wind-Resistant Roofing Options for Edmond Homes
If you’ve lived in Oklahoma for any length of time, you know the wind here doesn’t mess around. For homeowners in Edmond specifically, the question
Roof Repair: Hail Damage in Oklahoma City
Hail storms can be devastating, and hail can cause substantial damage to homes, vehicles, and businesses, leading to costly repairs. This article focuses on roof
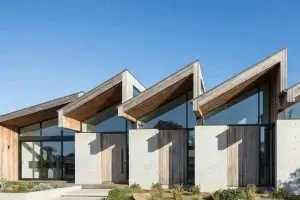
Sawtooth Roofs: A Modern Look for Contemporary Homes
Lorem ipsum dolor sit amet, consectetur adipiscing elit. Ut elit tellus, lu Walk past a century-old textile factory in New England, and you will likely