


Roof Insurance Claims Guide for Norman Property Owners
Dealing with a damaged roof can feel overwhelming, especially when you’re facing a long insurance claim process while rain is still leaking through your ceiling.

New Roof Financing in Yukon: Affordable Plans Explained
For many homeowners in Yukon, Oklahoma, getting a new roof is one of the most important investments they will ever make in their home. Whether
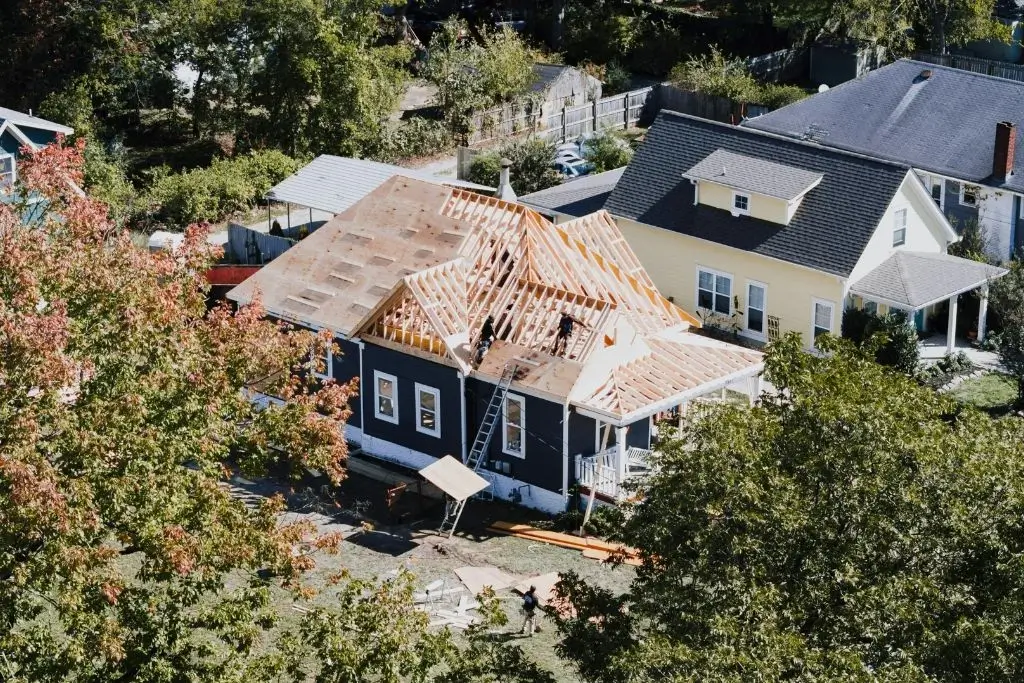
Asphalt Shingle Replacement in Oklahoma City Suburbs
If you live in the Oklahoma City suburbs, you already know your roof does not get a break. Between sudden storms, heavy hail, and long

Wind-Resistant Roofing Options for Edmond Homes
If you’ve lived in Oklahoma for any length of time, you know the wind here doesn’t mess around. For homeowners in Edmond specifically, the question
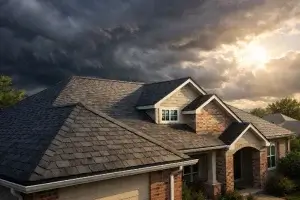
Roof Repair: Hail Damage in Oklahoma City
Hail storms can be devastating, and hail can cause substantial damage to homes, vehicles, and businesses, leading to costly repairs. This article focuses on roof
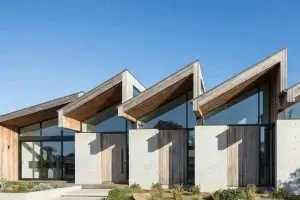
Sawtooth Roofs: A Modern Look for Contemporary Homes
Lorem ipsum dolor sit amet, consectetur adipiscing elit. Ut elit tellus, lu Walk past a century-old textile factory in New England, and you will likely