If you own a home in Midwest City, you already know how hard Oklahoma weather can be on a roof. Between spring downpours, summer storms, and winter ice, your roof valleys take on more punishment than almost any other part of your home. At Maupin Roofing and Construction, we spend a lot of our time repairing and replacing valley flashing, and we want to walk you through why it matters, what your options are, and how our team approaches every job with care.
What Is Roof Valley Flashing, and Why Does It Matter?
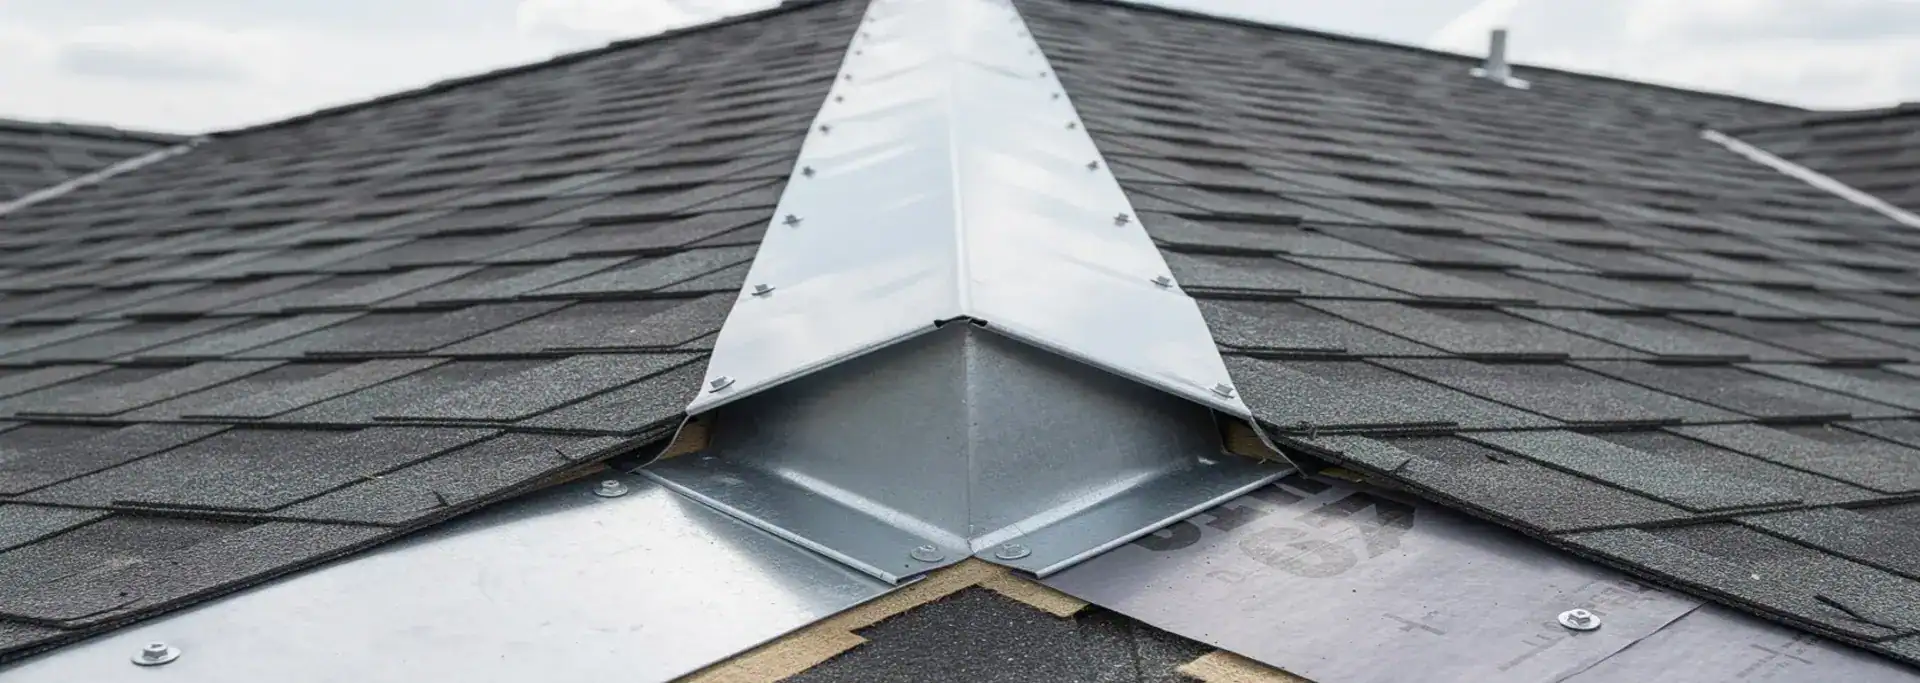
A roof valley is the inward angle where two roof planes meet, and it’s where rainwater naturally collects and runs off. Dozens of gallons of water can run down a single valley during a heavy storm, which makes this one of the highest-traffic zones for water on your entire roof. Valley flashing is the metal layer installed in that channel to direct rainwater safely off the roof instead of letting it work its way under your shingles.
When valley flashing is done right, it prevents water intrusion, protects your attic and interior from leaks, and even helps prevent the formation of ice dams during cold Oklahoma winters. When it’s done wrong, or when it wears out, that same valley becomes the number one place we find roof leaks on service calls across the metro.
Valley Flashings Materials We Use and Why They Matter
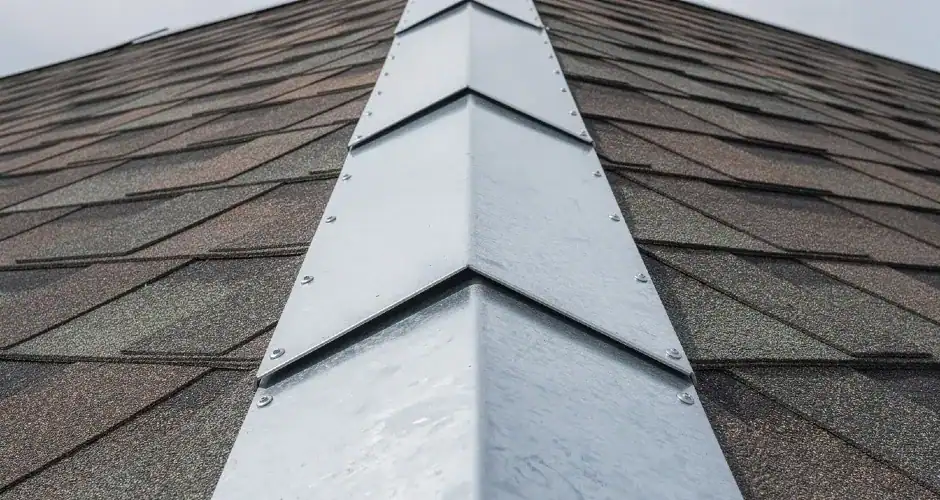
Not all valley flashing materials are created equal, and understanding your options helps you make the right choice for your home. Here’s a quick reference on what we typically install:
- Galvanized steel is a reliable, budget-friendly option that offers solid protection against corrosion.
- Galvalume Plus 24-gauge flashing is a popular choice for homeowners who want a durable metal with excellent longevity.
- Copper valley flashings are a favorite for homeowners who care about curb appeal, since copper develops a distinctive patina over time and adds real character to a home.
- Aluminum and stainless steel are also available, and unlike some lighter-gauge products, they hold up well in our region’s mix of heat, hail, and freeze-thaw cycles.
Thickness matters just as much as material. We never cut corners on gauge, because thin flashing is more prone to denting, cracking, and premature failure. Whatever material you choose, our team will help you understand which option fits your budget, your roof style, and the colors and finish you want.
Understanding the Different Valley Installation Methods, Including Closed Cut Valley
There are three main methods our crews use to install valley flashing: woven, closed-cut, and open. Each has its place, but they’re not interchangeable, and choosing the right one for your roof is part of what we cover during every free inspection. The order of installing shingles and flashing also matters when choosing between valley methods.
Open valleys use exposed metal flashing running down the center of the valley for maximum water protection. This is the method we recommend most often, since open valleys tend to offer better longevity and are far easier to repair down the road if a problem ever comes up.
Closed-cut valleys give your roof a cleaner, more streamlined look than woven valleys, since the shingles run across the valley and are trimmed at the center rather than leaving metal exposed. This is a popular choice for homeowners who want the protection of proper flashing without the visible metal strip.
Woven valleys interlace shingles from both roof planes across the valley. This method can look attractive, but it’s worth noting that improper installation of woven valleys may void some manufacturers’ warranties, so this is one area where experience really matters.
Getting the Installation Right
Valley flashing installation is one of those jobs where the small details separate a roof that lasts from one that leaks within a year or two. Here’s what we always make sure happens on a Maupin Roofing job:
- A waterproof underlayment goes down first, before any flashing is placed, to add a backup layer of protection.
- Flashing should be a minimum of 24 inches wide down the center of the valley, and choosing the right flashing size matters just as much as overlapping sections by at least 6 inches to keep water from finding a way underneath.
- Fasteners are placed only at the edge of the flashing, never near the center, because keeping nails out at the edges helps protect the main water channel.
- On closed-cut valleys, we take extra care with where and how the top corner of each shingle is trimmed, since a poor cut here is a common reason valleys start leaking early.
- Some products, like W-valley flashing, include a raised center ridge that runs the full length down the middle of the valley for added strength and extra protection against cross-flow, which is a great option in areas that see heavy runoff. Formed details such as a hem on the metal edge can also improve rigidity and safer handling where applicable.
It might seem like a small part of your roof, but the valley is often where a roof’s fate is decided. Poor sequencing, bad cuts, or undersized flashing can increase the risk of water intrusion, while careful installation helps achieve a durable result.
Why Homeowners Trust Maupin Roofing
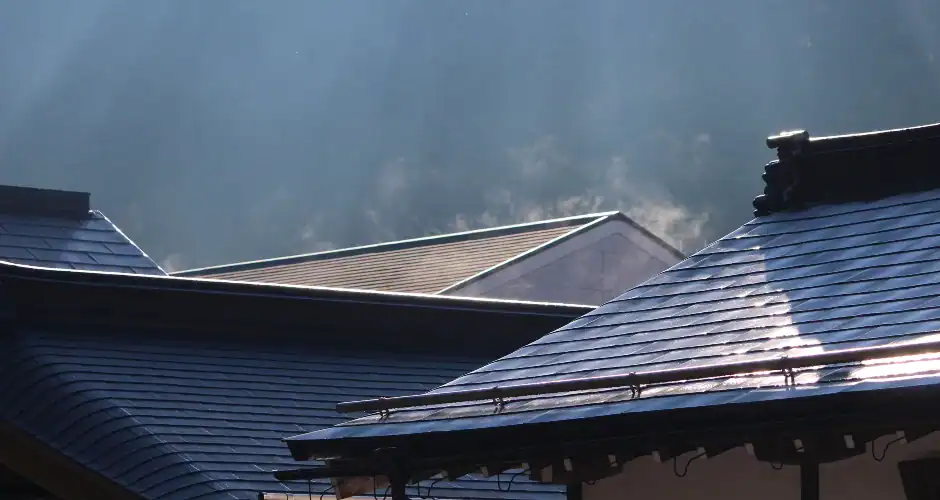
We’re proud to bring real experience and honest pricing to every valley flashing repair or replacement we take on. Whether you need a quick fix on an existing closed-cut valley or you’re ready to upgrade to copper or Galvalume Plus flashing on a new roof, our team will help you select the right material, the right method, and the right plan for your home and your budget.
If you’re searching for trusted Midwest City roofingprofessionals, we’d love the chance to earn your business. Give us a call, request your free quote, or check out our gallery to see the care and craftsmanship we bring to every project. Our family looks forward to protecting yours.
Ready to get started? Call Maupin Roofing and Construction today at 405-703-3843 to schedule your free valley flashing inspection.