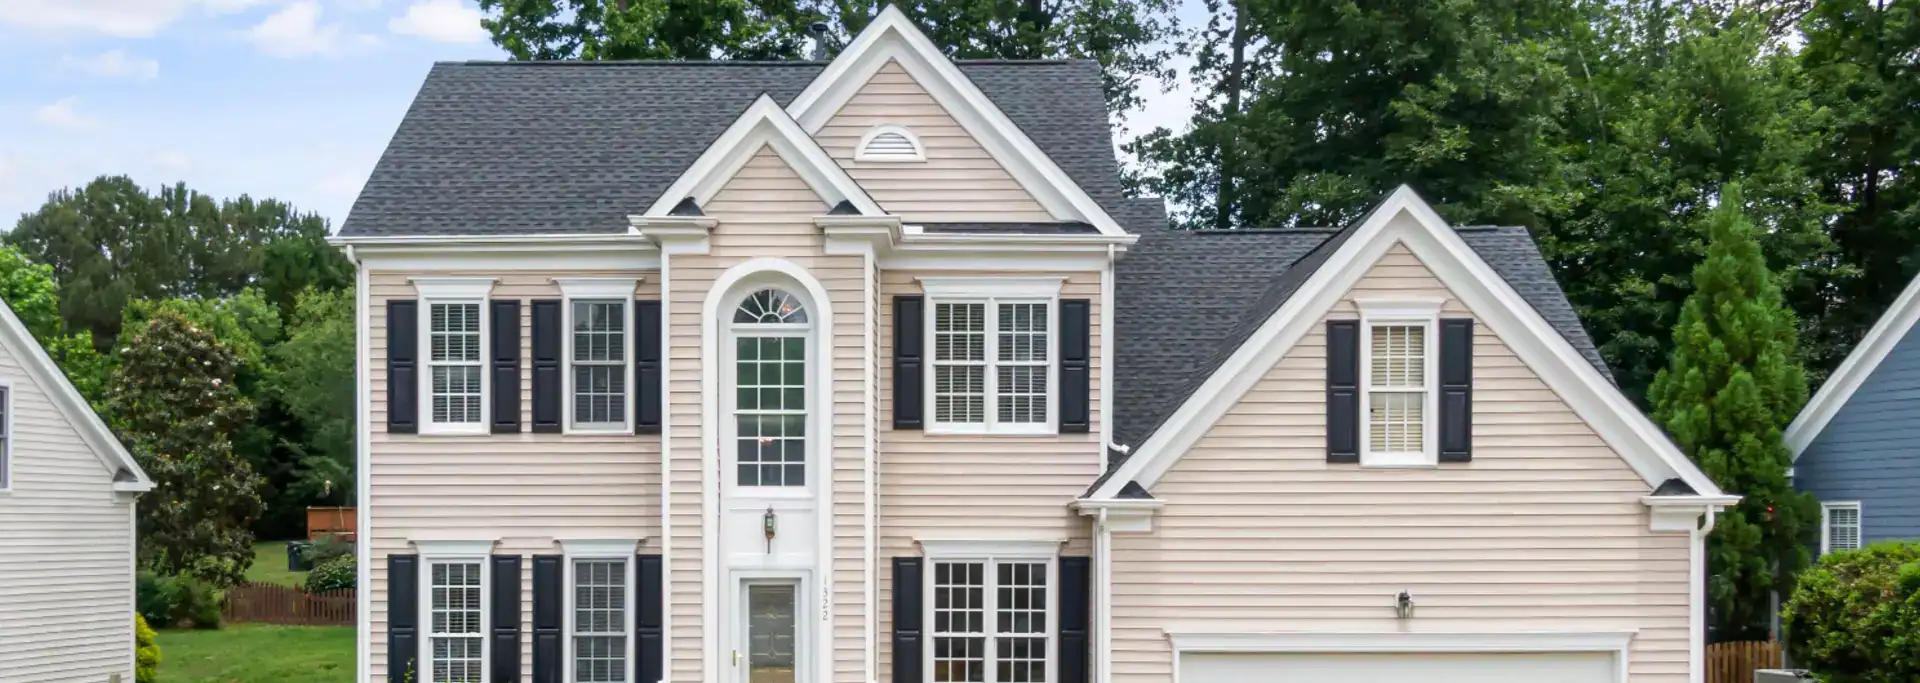
When homeowners in Yukon think about protecting their roof, they usually picture shingles, underlayment, and maybe a new coat of sealant around the chimney. What often gets overlooked is one of the smallest but most important pieces of the entire roofing system: the drip edge. At Maupin Roofing & Construction, we’ve seen firsthand how a missing or improperly installed drip edge can lead to water damage, wood rot, and leaks that could have easily been prevented. As a trusted Yukon roofing company, we want homeowners to understand exactly what a drip edge does, why it matters, and how proper drip edge installation protects a home for years to come.
What Is a Drip Edge?
A drip edge is metal flashing installed along the roof’s edge, designed to direct water away from the fascia and gutter into the gutter system instead of allowing it to run down the side of the house. Without it, water droplets can travel back under the shingles and roof deck, seeping into the underlayment, fascia board, and even the interior structure of the home. Over time, this leads to wood rot, mold, and costly water intrusion that could have been avoided with a properly installed drip edge.
Most local building codes actually require drip edge installation on new roofs and full roof replacements, and for good reason. In Oklahoma, local codes may specify requirements for nail spacing and edge design, and residential roofs in Oklahoma City often have specific building code requirements for how drip edges should be installed along eaves and rake edges. Our team stays current on these codes so every roof we install meets or exceeds what’s required.
Why Drip Edge Matters So Much in Yukon

Yukon and the greater OKC metro deal with everything from heavy spring storms to the occasional winter freeze. That combination of wind-driven rain and temperature swings makes proper edge flashing especially important. Installing a drip edge helps reduce wind-driven rain intrusion under roofing materials, and it also helps prevent ice dam damage and leaky gutters during colder months. Ice dams form when melting snow refreezes at the roof edge, and without a drip edge in place, that trapped moisture has nowhere to go but into the roof deck itself.
A properly installed drip edge also improves gutter efficiency by ensuring water is guided directly into the gutter rather than dripping behind it. This keeps water damage away from the fascia and helps the entire roofing system last much longer. Many homeowners are surprised to learn that a small strip of metal can play such a big role in extending the lifespan of their roof, but it’s one of the most cost-effective upgrades we offer.
Drip Edge Materials: What’s Best for Oklahoma Homes
Drip edges are made from metal or plastic materials, though metal is by far the more common and more durable choice for Oklahoma weather. Metal drip edges include galvanized steel, aluminum, and copper, each offering slightly different benefits.
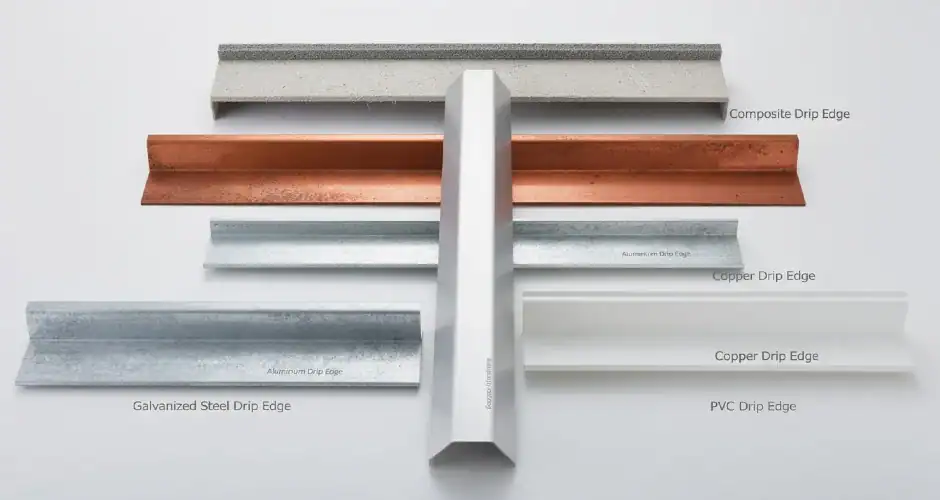
- Aluminum is lightweight, corrosion-resistant, and budget-friendly, making it one of the most popular choices for residential roofs.
- Galvanized steel offers excellent longevity and extra strength, which is why we recommend it for homes that see heavy storm activity.
- Copper is more expensive but offers a distinctive look and outstanding durability, often chosen for higher-end homes or historic properties.
- Plastic drip edges are lightweight and corrosion-resistant as well, though we generally recommend metal options for their added durability against Oklahoma’s harsh sun and hail.
Using corrosion-resistant aluminum or galvanized steel is recommended for drip edges in Oklahoma, and it’s the standard we build into every project at Maupin Roofing & Construction.
Understanding Drip Edge Profiles
Not all drip edge profiles are the same, and choosing the right type c drip edge or other profile matters for both function and appearance.
- Type C drip edge, also known as L-style, is one of the most common profiles used on shingle roofs. It has a simple L-shaped bend that directs water off the roof edge.
- T-style drip edge, sometimes labeled type D metal, features an extended flange for better water diversion, giving extra protection along the rake edge and roof edge where water tends to collect.
- D metal and other extended profiles are often chosen for roofs with steeper sloped edges or areas that see more direct rainfall.
Our team helps homeowners choose the right drip edge profile based on their roof structure, local climate, and the overall look they want for their home.
Step-by-Step Guide: How We Install a Drip Edge
While drip edge installation might sound simple, the process actually involves careful attention to detail. Here are the steps outlined by our team when installing a new drip edge:

- Removing shingles and the old drip edge. Before installing drip edge material, our crew carefully removes the existing shingles along the roof edge and takes out any old drip edge that’s rusted, bent, or no longer functional.
- Inspecting the roof deck. We check the roof deck for signs of rot, gaps, or existing water damage before installing anything new. Any damaged sections of decking are repaired first to create a solid, watertight seal.
- Marking and measuring. Using a chalk line, we mark a straight guide along the roof edge to make sure the new drip edge installs evenly and follows the true line of the fascia.
- Cutting the drip edge to size. Using tin snips, our team cuts each piece of drip edge material to fit the length of the eaves and rake edge, allowing for proper overlap at the corners.
- Installing at the eaves. At the eaves, drip edge is installed underneath the underlayment. This allows water to flow off the roof edge and directly into the gutter without soaking into the roof deck.
- Installing at the rake edge. At the rake edge, the drip edge is installed over the underlayment instead, which helps direct water away from the fascia board along the sloped edges of the roof.
- Securing with roofing nails. We fasten the drip edge with roofing nails spaced approximately every 12 inches, following local building codes for nail spacing and edge design.
- Overlapping corners properly. At every corner and seam, we overlap drip edge pieces by at least 2 inches, which prevents gaps where water could otherwise sneak through.
- Extending onto the roof. Drip edge should extend at least 2 inches onto the roof sheathing and typically extends 2 to 5 inches beyond the fascia board, giving water plenty of room to shed off safely.
- Finishing with shingles. Once the new drip edge is installed, our crew gently lifts the first course of shingles into place so they overhang the drip edge by about half an inch to a full inch, creating a clean, finished look and a proper watertight seal.
For a typical single-story home, this entire drip edge installation process takes about 2 to 4 hours, though larger or more complex roofs may take longer.
Common Installation Mistakes We Help Homeowners Avoid
We’ve inspected plenty of roofs where a previous drip edge installation was done incorrectly, and it’s usually the small details that cause the biggest issues. Some of the most common installation mistakes include:
- Skipping the underlayment order. Installing drip edge over the underlayment at the eaves, instead of underneath it, allows water to slip behind the flashing.
- Not overlapping corners. Failing to maintain proper overlap at corners and seams leaves gaps that let water sneak through, especially during heavy Oklahoma storms.
- Using the wrong materials. Choosing a drip edge material that isn’t corrosion-resistant can lead to rust and premature failure, particularly with cheaper steel that lacks a protective coating.
- Improper nail spacing. Placing roofing nails too far apart or missing the required spacing outlined in local building codes weakens the drip edge over time.
- Not extending far enough onto the roof deck. A drip edge that doesn’t extend the full 2 inches onto the roof sheathing won’t do its job of directing water safely away from the fascia.
Avoiding these mistakes is exactly why hiring an experienced Yukon roofing company matters. Our team has installed countless roofs across Oklahoma City, Yukon, Moore, Norman, Edmond, and Nichols Hills, and we know how to get every detail of the drip edge flashing right the first time.
Signs Your Drip Edge Needs to Be Replaced
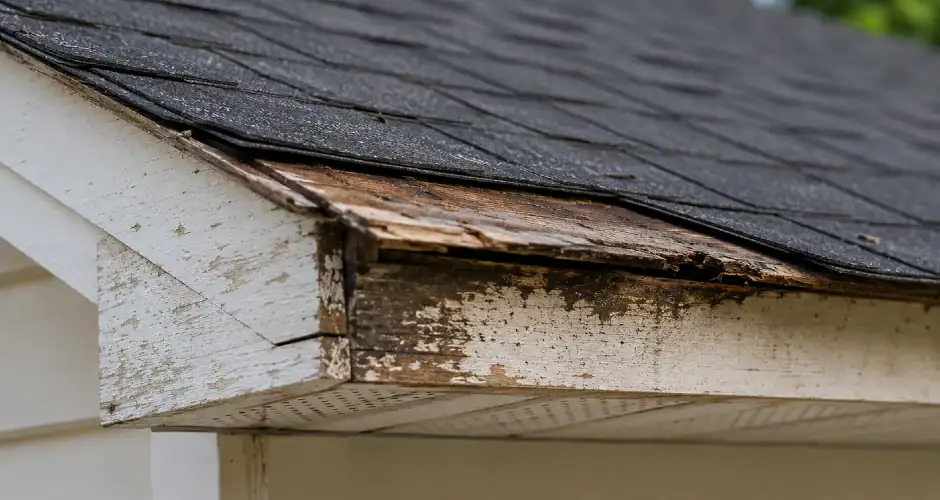
If your home already has a drip edge installed, it doesn’t necessarily mean it’s still doing its job. Rust, visible gaps, bent or dislodged sections, and water stains along the fascia are all signs that it’s time to replace your old drip edge. Left unaddressed, these small issues can quickly lead to bigger, more expensive repairs down the road.
Whether you’re planning a full roof replacement or simply want to upgrade the edge flashing on your current roof, our team can inspect your existing setup and let you know exactly what’s needed to keep your home protected.
Let Maupin Roofing & Construction Handle Your Drip Edge Installation
Drip edge installation might be a small part of the overall roofing system, but it plays a major role in protecting your home from water damage, rot, and costly repairs. As a locally owned Yukon roofing company with decades of experience, Maupin Roofing & Construction takes pride in getting every detail right, from the roofing nails to the final course of shingles.
If your home is due for a new drip edge, or you’re planning a full roof replacement and want a team that pays attention to every detail, give Maupin Roofing & Construction a call. We’ll walk you through the process, answer your questions, and make sure your roof is protected for years to come.
Contactus today at 405-703-3843 for a free quote and let our team show you why homeowners across the Oklahoma City metro trust Maupin for their roofing and construction needs.